来源:自学PHP网 时间:2021-09-12 21:42 作者:小飞侠 阅读:次
[导读] jQuery实现简单的轮播图效果...
|
今天带来jQuery实现简单的轮播图效果教程详解
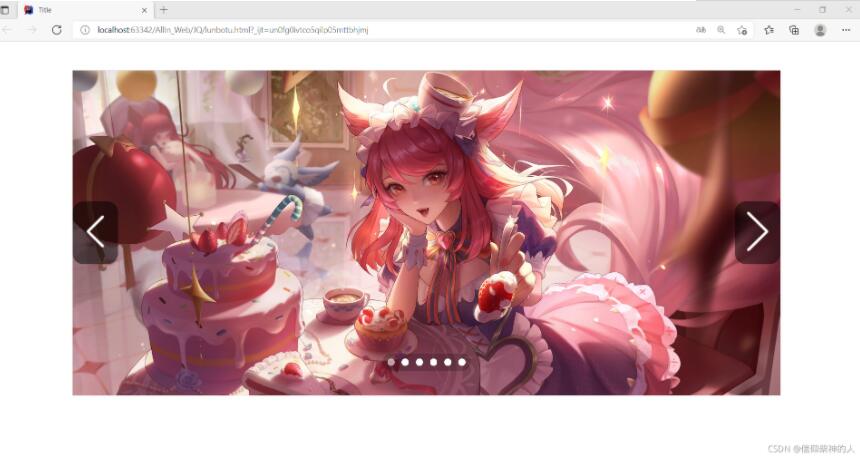
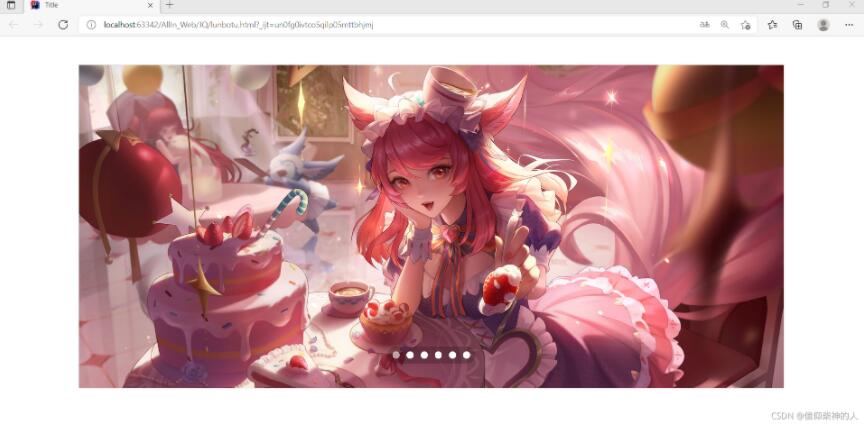
大家好,今天我和大家分享一下轮播图的实现,下面是我做的轮播图效果
首先我们看到,它是由背景图片、方向图标和指示器组成。我们发现背景图片、方向图标和指示器是层叠在一起的,所以布局时我们要用绝对定位。我们要实现点击方向图标时,图片跟着变换;点击指示器时,图片跟着变换;不点击时每隔5秒自动播放;不点击时不显示方向图标。 结构布局:用一个div包裹3个div,里面的3个div分别显示背景图片部分、方向图标部分和指示器部分。 样式代码:大家可以自己设计自己喜欢的颜色和样式。注意要用绝对定位就要遵循子绝父相的原则。想让界面只显示一张图片可以用overflow: hidden;把超出部分隐藏,在用定位后可以设置top: 50%;transform: translateY(-50%);垂直居中 display: none;
/*去除标签自带的样式*/
* {
    margin: 0;
    padding: 0;
}

ul {
    list-style: none;
}

a {
    text-decoration: none;
}

img {
    width: 100%;
}
/*设置整个轮播图的布局*/
.carousel {
    position: relative;
    margin: 40px auto;
    width: 1000px;
    height: 460px;
    border: 1px solid rgba(0, 0, 0, 0.1);
    box-sizing: border-box;
    /*超出部分隐藏*/
    overflow: hidden;
}
/*设置背景图片的布局*/
.content {
    position: absolute;
    z-index: 1;
}
/*设置左移、右移图标和指示器的布局*/
.pos,
.dot {
    position: absolute;
    z-index: 2;
    width: 100%;
}
/*设置左移、右移图标先垂直居中、不显示*/
.pos {
    top: 50%;
    transform: translateY(-50%);
    display: none;
}
/*设置左移、右移图标的背景*/
.pos > a {
    padding: 10px 0;
    border-radius: 15px;
    background: rgba(0, 0, 0, 0.5);
}
/*设置左移图标的位置*/
.left {
    float: left;
}
/*设置右移图标的位置*/
.right {
    float: right;
}
/*设置指示器显示的位置*/
.dot {
    bottom: 30px;
    text-align: center;
}
/*设置指示器的背景*/
.dot ul {
    display: inline-block;
    padding: 2px;
    background: rgba(0, 0, 0, .2);
    border-radius: 15px;

}
/*设置圆点的大小*/
.dot > ul > li {
    float: left;
    margin: 5px;
    width: 10px;
    height: 10px;
    border-radius: 50%;
    background: white;
    cursor: pointer;
}
/*设置显示当前图片时指示器指示的位置*/
.active {
    background: rgba(255, 255, 255, .6) !important;
}
JavaScript代码:注意开始先把图片隐藏,默认显示第一张图,不然不管你最先点击什么图片,它都是第二张图。显示下一张图片时,上一张图片和指示器的标记要清除
$(function () {
/*保存当前图片的索引*/
let index = 0;
let btn = false;
/*去除a标签自带的刷新*/
$('a[href=""]').prop('href', 'javascript:;');
/*开始先把图片隐藏,默认显示第一张图*/
$('.content>ul>li').hide();
$('.content>ul>li:eq(0)').show();
// 设置方向箭头图标的淡入、淡出
$('.carousel').hover(function () {
$('.pos').stop().fadeIn()
}, function () {
$('.pos').stop().fadeOut()
})
// 为左方向图标绑定点击事件
$('.left').on('click', function () {
btn = true;
clean();
if (index == 0) {
index = 5;
} else {
--index;
}
show();
})
// 为右方向图标绑定点击事件
$('.right').on('click', function () {
btn = true;
clean();
if (index == 5) {
index = 0;
} else {
++index;
}
show();
})
//指示器指示功能(为指示器绑定点击事件)
$('.dot li').on('click', function () {
btn = true;
let now = $(this).index()
if (now != index) {
clean();
index = now;
show();
}
})
//自动播放功能(定时器)
setInterval(function () {
if (!btn) {
clean();
if (index == 5) {
index = 0;
} else {
++index;
}
show();
} else {
btn = false;
}
}, 5000)
//清除上一张图片和指示器上的指示
function clean() {
$(`.content>ul>li:eq(${index})`).stop().fadeOut();
$(`.dot>ul>li:eq(${index})`).removeClass('active');
}
//添加新的图片和指示器上的指示
function show() {
console.log(index);
$(`.content>ul>li:eq(${index})`).stop().fadeIn();
console.log($(`.content>ul>li:eq(${index})`))
$(`.dot>ul>li:eq(${index})`).addClass('active');
}
})
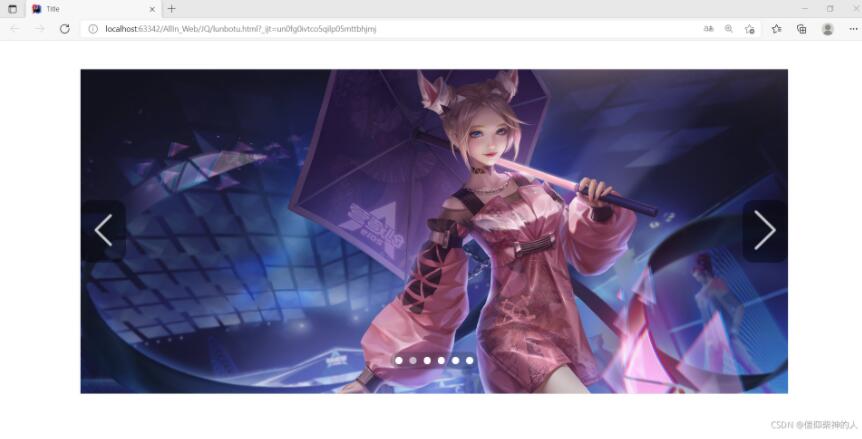
结果:
以上就是本文的全部内容,希望对大家的学习有所帮助,也希望大家多多支持自学php网。 以上就是关于jQuery实现简单的轮播图效果全部内容,感谢大家支持自学php网。 |
自学PHP网专注网站建设学习,PHP程序学习,平面设计学习,以及操作系统学习
京ICP备14009008号-1@版权所有www.zixuephp.com
网站声明:本站所有视频,教程都由网友上传,站长收集和分享给大家学习使用,如由牵扯版权问题请联系站长邮箱904561283@qq.com