本文给大家推荐的是使用CSS3简单实现照片墙效果的代码,非常简单,也很实用,需要的朋友可以参考下
HTML
复制代码
代码如下:<body>
<h2>照片墙制作</h2>
<div class="container">
<img class="img1" src="img/img (1).jpg" height="150" width="150" alt="">
<img class="img2" src="img/img (2).jpg" height="160" width="200" alt="">
<img class="img3" src="img/img (3).jpg" height="170" width="200" alt="">
<img class="img4" src="img/img (4).jpg" height="240" width="200" alt="">
<img class="img5" src="img/img (5).jpg" height="300" width="300" alt="">
</div>
</body>
CSS(此处省略了浏览器私有属性前缀!)
复制代码
代码如下:<style>
* {margin:0; padding:0;}
body { background-color: #eee; padding-top: 50px;}
h2 { text-align: center;}
.container { position: relative; width:1000px; height:700px; margin:0px auto; }
img { position: absolute; top:50px; left:100px; cursor: pointer;
padding:10px 10px 25px; background-color: #fff; border:1px solid #ddd;
transition:0.5s; box-shadow: 3px 3px 3px #ccc;
}
.img1 { left:40px; top:20px; transform:rotate(30deg); z-index: 1;}
.img2 { left:156px; top:156px; transform:rotate(-30deg); z-index: 1;}
.img3 { left:381px; top:60px; transform:rotate(30deg); z-index: 1;}
.img4 { left:458px; top:256px; transform:rotate(30deg); z-index: 1;}
.img5 { left:684px; top:110px; transform:rotate(-40deg); z-index: 1;}
img:hover { transform:rotate(0deg); transform:scale(1.5); box-shadow: 6px 6px 6px #656565; z-index: 2;}
</style>
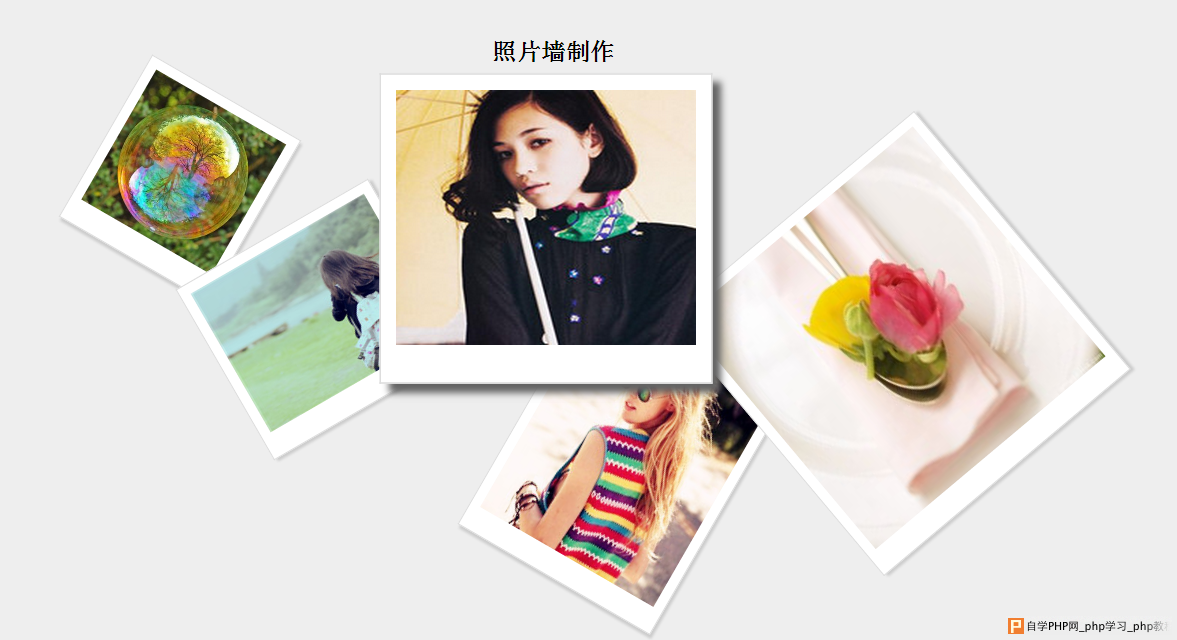
效果图: